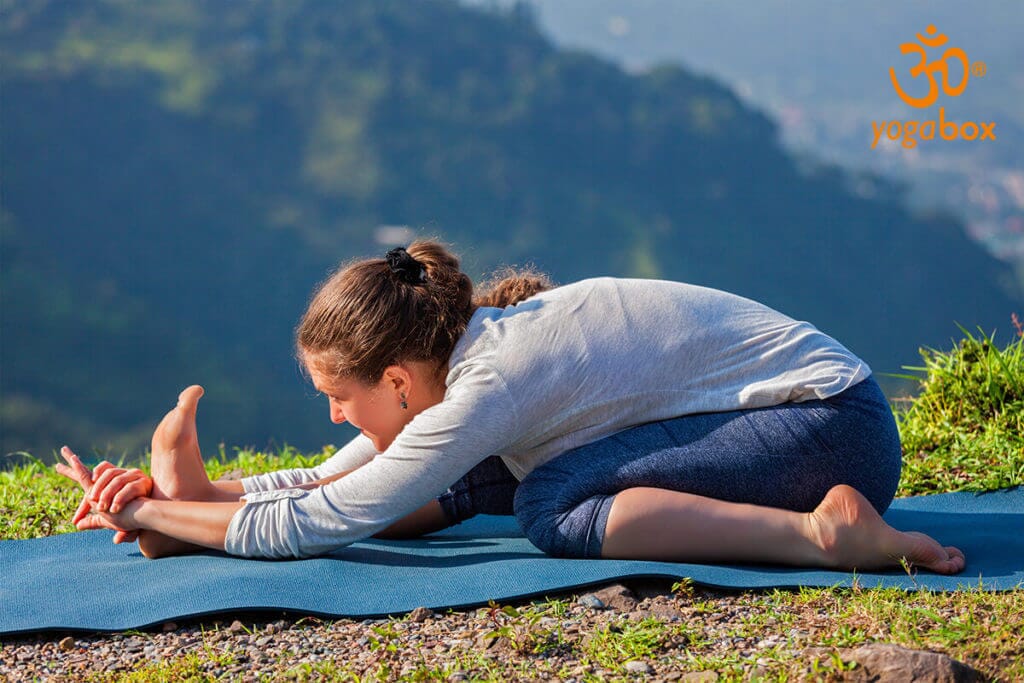
Triang Mukhaikapada Paschimottanasana - More energy for your life
Through the Triang Mukhaikapada Paschimottanasana position, you can activate your navel chakra, the Manipura , and thus gain new strength. However, this classic Ashtara Yoga pose is not for beginners and demands a lot from your body. Mastering Triang Mukhaikapada Paschimottanasana correctly means keeping your muscles and tendons under control so that, with sufficient stretching, pain reflexes are not triggered. We'll tell you what to watch out for in this pose.

What is Triang Mukhaikapada Paschimottanasana?
The origin of the name Triang Mukhaikapada Paschimottanasana, like all Ashtara poses, lies in the way it is performed. Triang: three parts, Mukhaikapada: facing one leg, Paschim: facing west or with the back up, Ottana: stretched, Asana: pose. From this name, it's easy to deduce what the pose looks like in the final stages. With one leg bent and the other straight, grasp the front foot and bend toward the floor. For advanced yoga students, this sitting position sounds easier than it actually is; for beginners, the resistance begins at the latest when you bend toward the foot.
In Triang Mukhaikapada Paschimottanasana, the focus of the movement is on the abdominal region. It primarily engages strong abdominal muscles with as little belly fat as possible to reduce resistance. At the same time, the thighs are heavily loaded and the Achilles tendon is stretched. Triang Mukhaikapada Paschimottanasana is not a pose you should start a workout routine or session with. Without warming up and practicing easier asanas, this pose is almost impossible and will overstrain your tendons. Therefore, as with many challenging yoga poses, it's important to check yourself to see how strong your body's resistance is and whether the initial pain from the stretch subsides. If it doesn't, you shouldn't hold this pose.
How to get into Triang Mukhaikapada Paschimottanasana
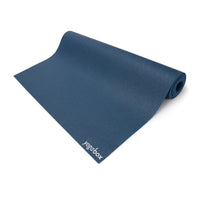
There are different ways to perform Triang Mukhaikapada Paschimottanasana. The most comfortable way to prepare your body for the movement is as follows. First, kneel on the yoga mat and sit back into a sitting position, clasping both knees in front of your chest with your arms. Now, with the help of one hand, gently pull your right leg back. Grasping the shin muscle will keep the leg straight and prevent it from becoming awkwardly bent. The leg should rest beneath you so that your thighs form a flat surface, as if you were still sitting. Now move this leg slightly to the side until your bottom is sitting on the floor.
While sitting, stretch out the other leg forward. Make sure that you do this slowly, otherwise it will be difficult to maintain your balance. Do not let the left leg tip to the side; the foot must be straight at the end and should only be resting on the heel. Wiggle your toes slightly to keep the foot in action. If the leg falls asleep in this pose, it will be uncomfortable for the thigh muscles . Check whether you are still sitting on the floor or whether your right leg has wandered back towards your body. Only when both legs are in the correct position do you lean straight forward as usual, so that your back is slightly bent rather than hunched. Depending on your range of motion, you can lie completely on your left leg and hold the foot, or stretch as far as possible. At the end of the asana, release it backward rather than forward, until you are sitting on both lower legs or the soles of your feet.
Benefits of Triang Mukhaikapada Paschimottanasana
Triang Mukhaikapada Paschimottanasana directly targets the navel chakra. With regular practice, this asana can give you the perfect energy boost for your day.
Image © dimol / 123rf.com


